
Last year, I embarked on the process of installing a pool and spa at my house on Nantucket. This was a first for me and certainly a learning experience! Originally, I was going to gut the house, but ultimately decided I wanted to focus on my outdoor space. Watching the transformation was exciting!
The digging began in the fall around October, and the pool was complete and swimmable by early July. The gunite was shot in the fall, but the final finish is weather-dependent. If it is a cold spring, you might need to wait until temperatures are consistently warmer.
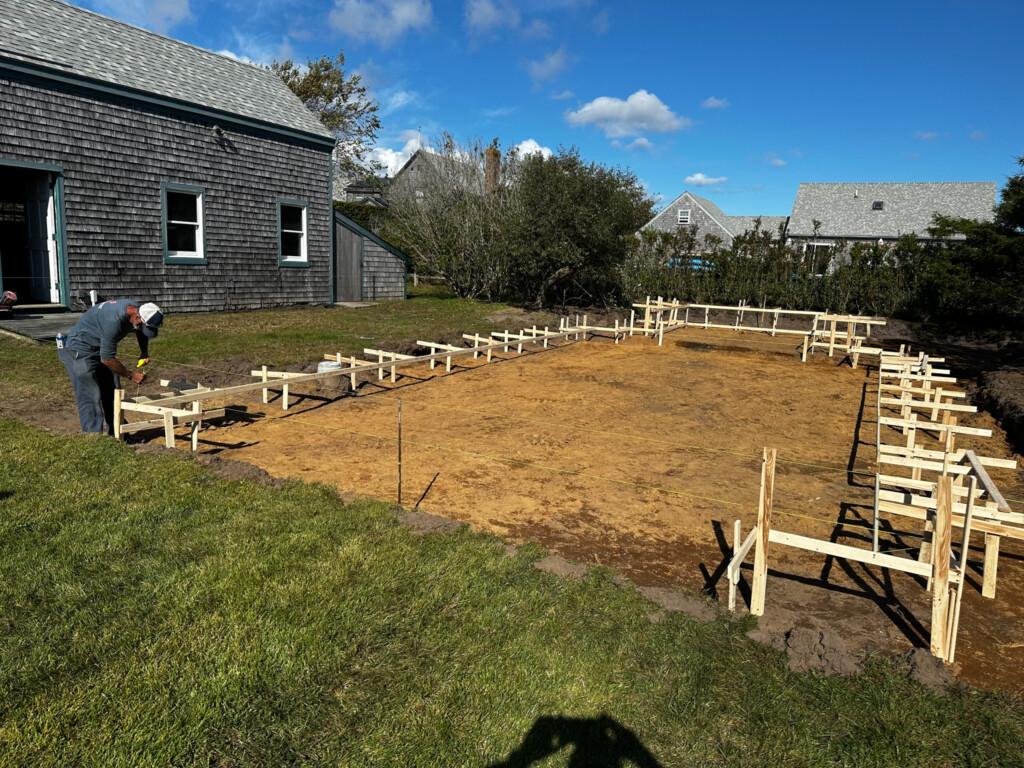
The original backyard and the pool towards the end:


Before I was even on the list with a pool company, I took note of the sun’s path of travel throughout the summer months to figure out the best placement for the pool and patio area. Working in real estate, I have seen a lot of pools, and I had a list of things that were important to me:
• With the addition of a pool and patio, I still wanted green space.
• I wanted some separation between the house and pool.
• I wanted to break up the bluestone as I prefer a more natural feel.
The waitlists for Nantucket pool companies have been about one to two years long. Also, remember that it will take time to get your plans drawn up and approved, as well as a permit in hand so that you can break ground. That process took a few months, but if you are building a new construction home, your builder will likely have a few reserved slots with their pool company of choice each year.
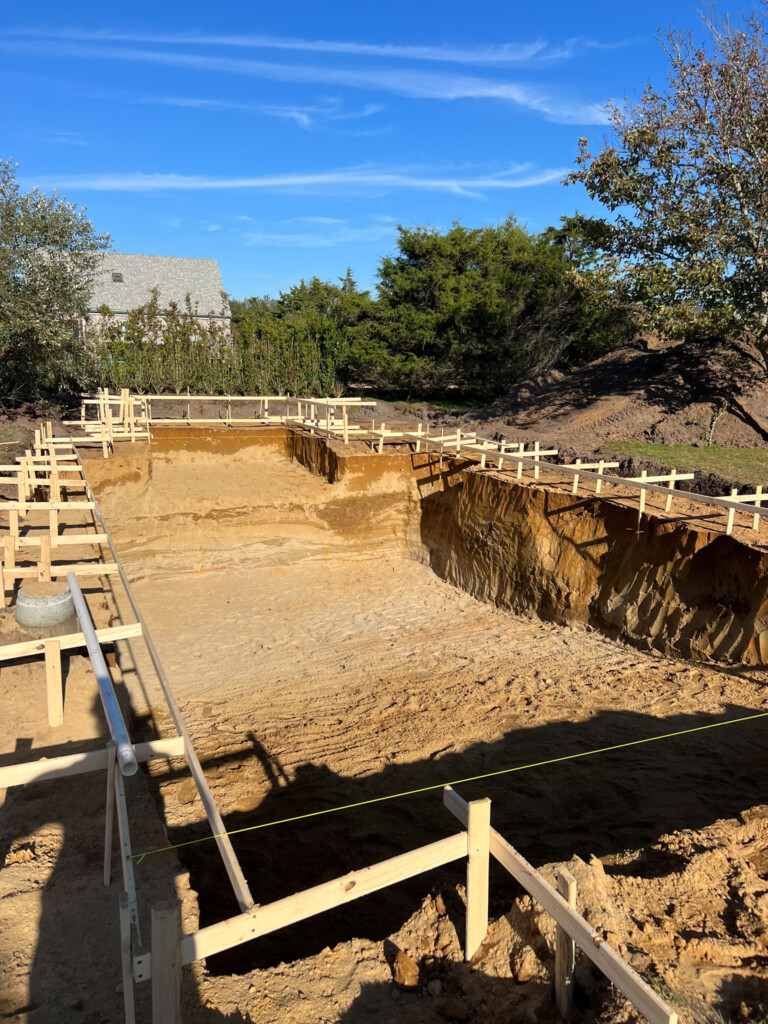
The start of the project:

At least on Nantucket, it seems there is a standard template for pools. If you want to switch it up, you need to know what you want and push for it. As soon as you start thinking about putting in a pool, save photos of pools and outdoor spaces you love for inspiration. I found this outdoor space by Studio McGee Designs at their own home that I absolutely loved and this was the look and feel I was looking for.
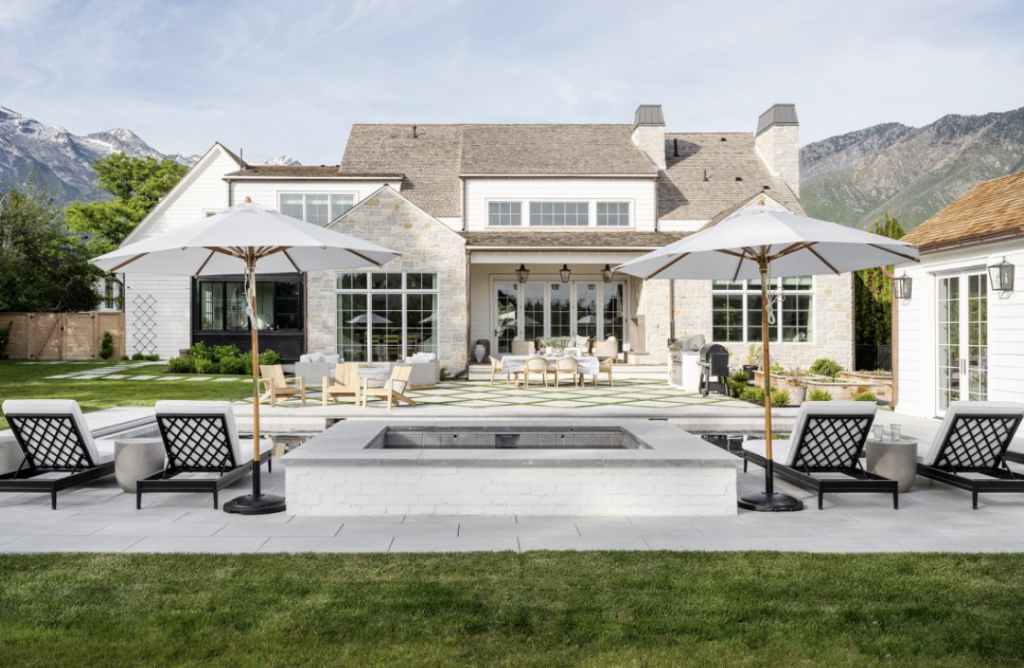
Photo Credit: Studio McGee Designs
I pulled two things from this home for inspiration:
1. I put white brick around the hot tub (I did not want bluestone!) and made the exterior of the hot tub perfectly square with the cover inside.
2. To soften the overall look, I incorporated turf outside my barn and cabana area between the bluestone pavers.
When it came to the finish of the pool and tile selections, it was hard for me to understand my options, and I felt like I was on my own in this process. Again, save photos for reference and start paying attention to the finishes and tile work of any pools you see and love. I didn’t like the finish samples I was given, so we landed on a blend of three colors to get “Grecian Grey.” I am very happy with this color as I wanted a darker grey. There was a standard gray option for the tile, but using the pool I loved from above as inspiration, I wanted something smaller and in a subtly different shade of gray.
The Tile Room was so helpful; I highly recommend stopping in so you can go through options with their team. I chose a more natural look (tile – CBX03 – Slinky and for the grout – 89 Smoke Grey), but you can also have so much fun adding more color and design elements with tile! Pick the finish, tile, and grout way ahead of time so you are not asked to make a rushed decision and can get exactly what you want.
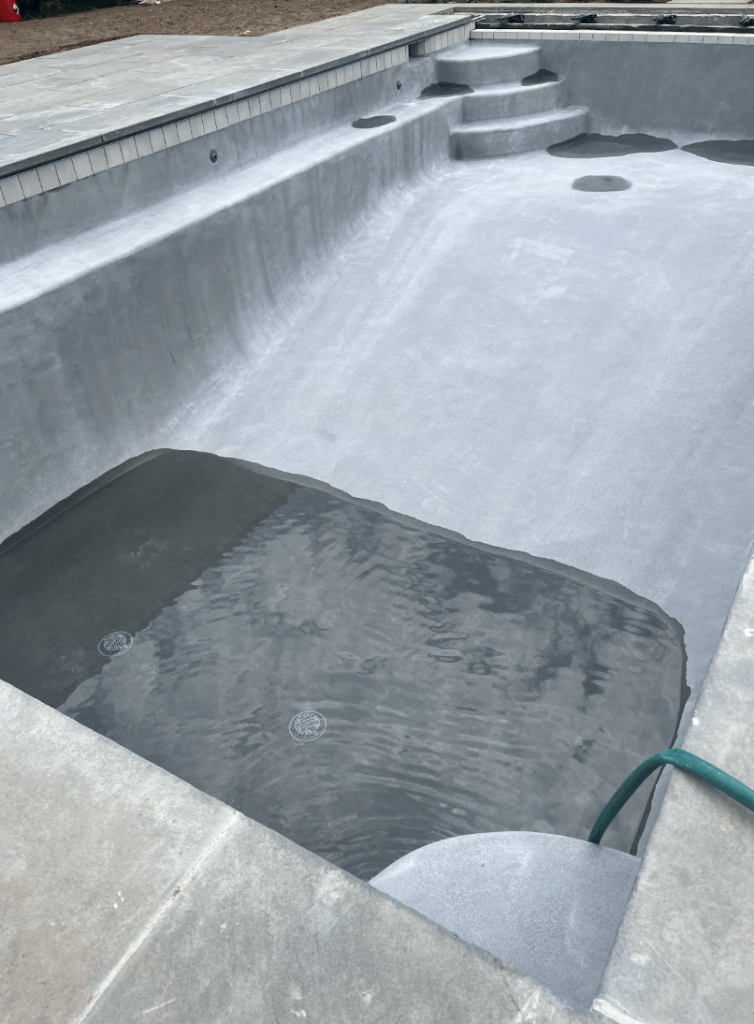
Photos as the pool was getting filled up:
From a budget standpoint, there were a few items I paid for in addition that you might as well consider upfront. The winter cover was not included in the budget, but obviously, everyone needs one, so ask your pool company how much it costs if they have not included it as a line item. My cover cost was over $6,000.
Also, the original budget included an electronic cover for the pool but not the spa. I ultimately decided to have one for the spa as well. It is worth it from an aesthetic and ease-of-use standpoint, but these covers aren’t cheap! Adding the spa cover cost an additional $16,000.
They had to run another gas line, and the gas company billed me directly for this work. For me, this also included service to the barn and cabana. Also, make sure you find out upfront if your current gas tank is large enough to heat your pool; otherwise, you might need to replace it or add another.

Seeding vs. Sod
Seeding is much less expensive, and this was included in my budget, but at the end of the day, the pool was not complete until the end of June. After living in a construction site, I was ready to enjoy the yard and pool for July and August, so I went with sod instead of seeding. I would put sod in your budget, and if you are lucky and have more time, you can save money instead of having an extra expense.
With a new pool comes landscape work, so be sure you are considering this and have estimates upfront.

I am very happy with my pool and spa, but the process was long. My biggest frustration was the lack of communication. If you are not on the island, I would ask for progress photos. My backyard has been transformed, and I am incredibly grateful for that! If you are considering installing a pool on Nantucket, I am always happy to chat!